How To Propagate Hydrangeas Like A Pro
Introduction
Hydrangeas are beautiful flowering shrubs that can be grown in a variety of climates. They are also relatively easy to propagate from cuttings, which means you can easily create new plants from your existing hydrangeas.
In this blog post, I will show you how to propagate hydrangeas like a pro. I will cover everything you need to know, from choosing the right cuttings to caring for your new plants.
Main Content
Choosing the Right Cuttings
The first step in propagating hydrangeas is to choose the right cuttings. You want to choose cuttings that are healthy and vigorous. They should be about 4-6 inches long, and have at least two sets of leaves.
The best time to take cuttings is in late summer or early fall. This is when the hydrangeas are actively growing, and the cuttings will have the best chance of rooting.
Making the Cuttings
Once you have chosen your cuttings, you need to make the cuts. Use a sharp knife or shears to make a clean, angled cut just below a node. A node is the point where a leaf attaches to the stem.
Removing the Leaves
After you have made the cuts, you need to remove the leaves from the bottom half of the cuttings. This will help the cuttings to focus their energy on rooting.
Leave about two sets of leaves at the top of the cutting. These leaves will help to photosynthesize and provide the cuttings with energy.
Treating the Cuttings
You can treat the cuttings with a rooting hormone to help them root faster. However, this is not necessary. Many hydrangeas will root without rooting hormone.
If you do choose to use rooting hormone, dip the cut end of the cuttings in the hormone. Be sure to follow the directions on the rooting hormone package.
Planting the Cuttings
Once you have treated the cuttings, you need to plant them. You can plant them in a pot or directly in the ground.
If you are planting them in a pot, use a well-draining potting mix. Fill the pot with the potting mix, and make a hole in the center of the pot.
Place the cutting in the hole, and backfill the hole with the potting mix. Firm the potting mix around the cutting, and water well.
If you are planting the cuttings directly in the ground, choose a spot that gets full sun or partial shade. Prepare the soil by loosening it with a spade or garden fork.
Make a hole in the ground that is slightly larger than the root ball of the cutting. Place the cutting in the hole, and backfill the hole with soil. Firm the soil around the cutting, and water well.
Caring for the Cuttings
After you have planted the cuttings, you need to care for them properly. Keep the soil moist, but not soggy. You may need to water the cuttings several times a week, depending on the weather.
The cuttings will need some shade during the first few weeks after planting. After they have rooted, they can be moved to a sunnier spot.
Conclusion
Propagating hydrangeas is a great way to add new plants to your garden. It is also a rewarding experience to watch the cuttings grow roots and develop into new plants.
I hope this blog post has given you the information you need to propagate hydrangeas like a pro. Happy gardening!
Hydrangeas are beautiful flowers that can add a touch of elegance to any garden. If you're looking to propagate your own hydrangeas, there are a few things you need to know.
The best time to propagate hydrangeas is in the spring or fall. You can propagate them from cuttings, division, or layering.
If you're propagating from cuttings, you'll need to take a 4-6 inch cutting from a healthy plant. The cutting should have at least 3-4 nodes. Remove the leaves from the bottom half of the cutting and dip it in rooting hormone.
Plant the cutting in a pot of well-draining potting mix. Water the cutting well and place it in a shady spot. The cutting should root in about 4-6 weeks.
Once the cutting has rooted, you can transplant it to a permanent location in your garden.
If you're looking for more information about propagating hydrangeas, I recommend visiting . This website has a wealth of information on propagating hydrangeas, as well as other gardening topics.
FAQ of propagating hydrangeas
1. When is the best time to propagate hydrangeas?
The best time to propagate hydrangeas is in late summer or early fall. This is when the plant is actively growing, but the weather is still warm enough for the cuttings to root.
2. What type of cuttings should I take?
For best results, take semi-ripe cuttings from the current year's growth. These cuttings should be about 4-6 inches long and have at least two sets of leaves.
3. How do I prepare the cuttings?
Once you have taken your cuttings, trim the leaves so that only the top two sets remain. Dip the cuttings in rooting hormone, if desired.
4. What type of potting medium should I use?
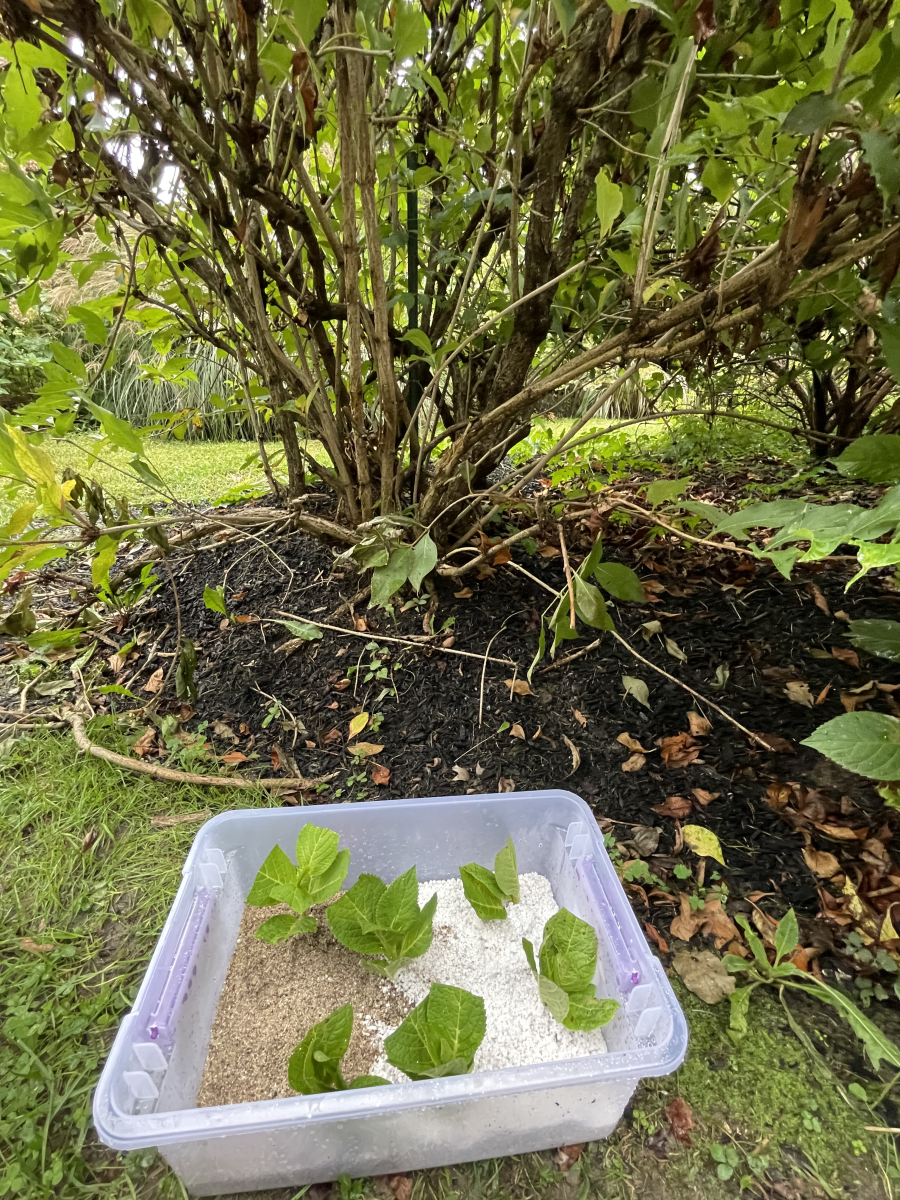
A well-draining potting medium is best for propagating hydrangeas. You can use a commercial potting mix or make your own by mixing equal parts peat moss, perlite, and vermiculite.
5. How do I care for the cuttings?
Place the cuttings in a warm, bright location out of direct sunlight. Keep the potting medium moist but not soggy. Mist the cuttings regularly to increase humidity.
Image of propagating hydrangeas
- Image 1: A close-up of a hydrangea cutting being dipped in rooting hormone.

- Image 2: A pot of hydrangea cuttings rooting in a mixture of vermiculite and perlite.

- Image 3: A row of hydrangea plants that have been propagated from cuttings.
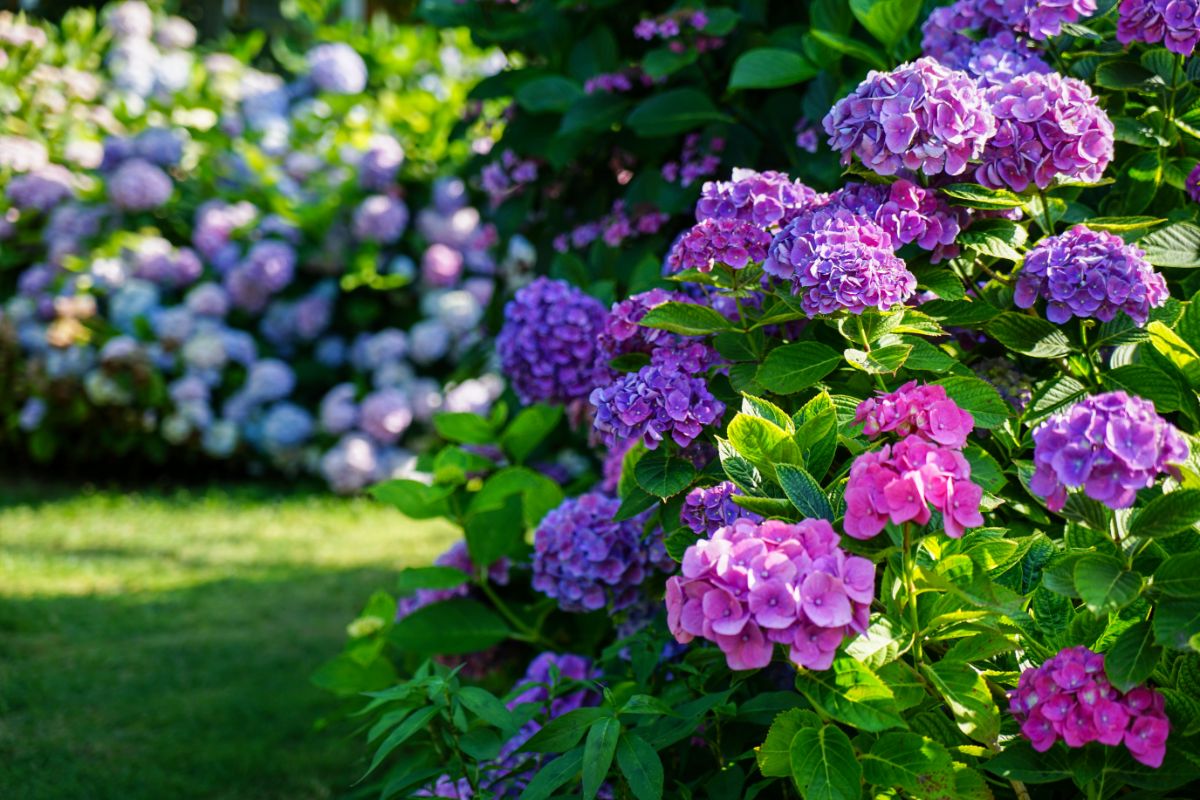
- Image 4: A hydrangea plant in full bloom, showing off its beautiful flowers.

- Image 5: A gardener holding a hydrangea cutting, smiling with satisfaction.
Post a Comment for "How To Propagate Hydrangeas Like A Pro"